Drawer workflow
A drawer is a rigid box plus its visible front. Set the opening layout and runner clearance first, then choose the box and bottom construction that you can manufacture.
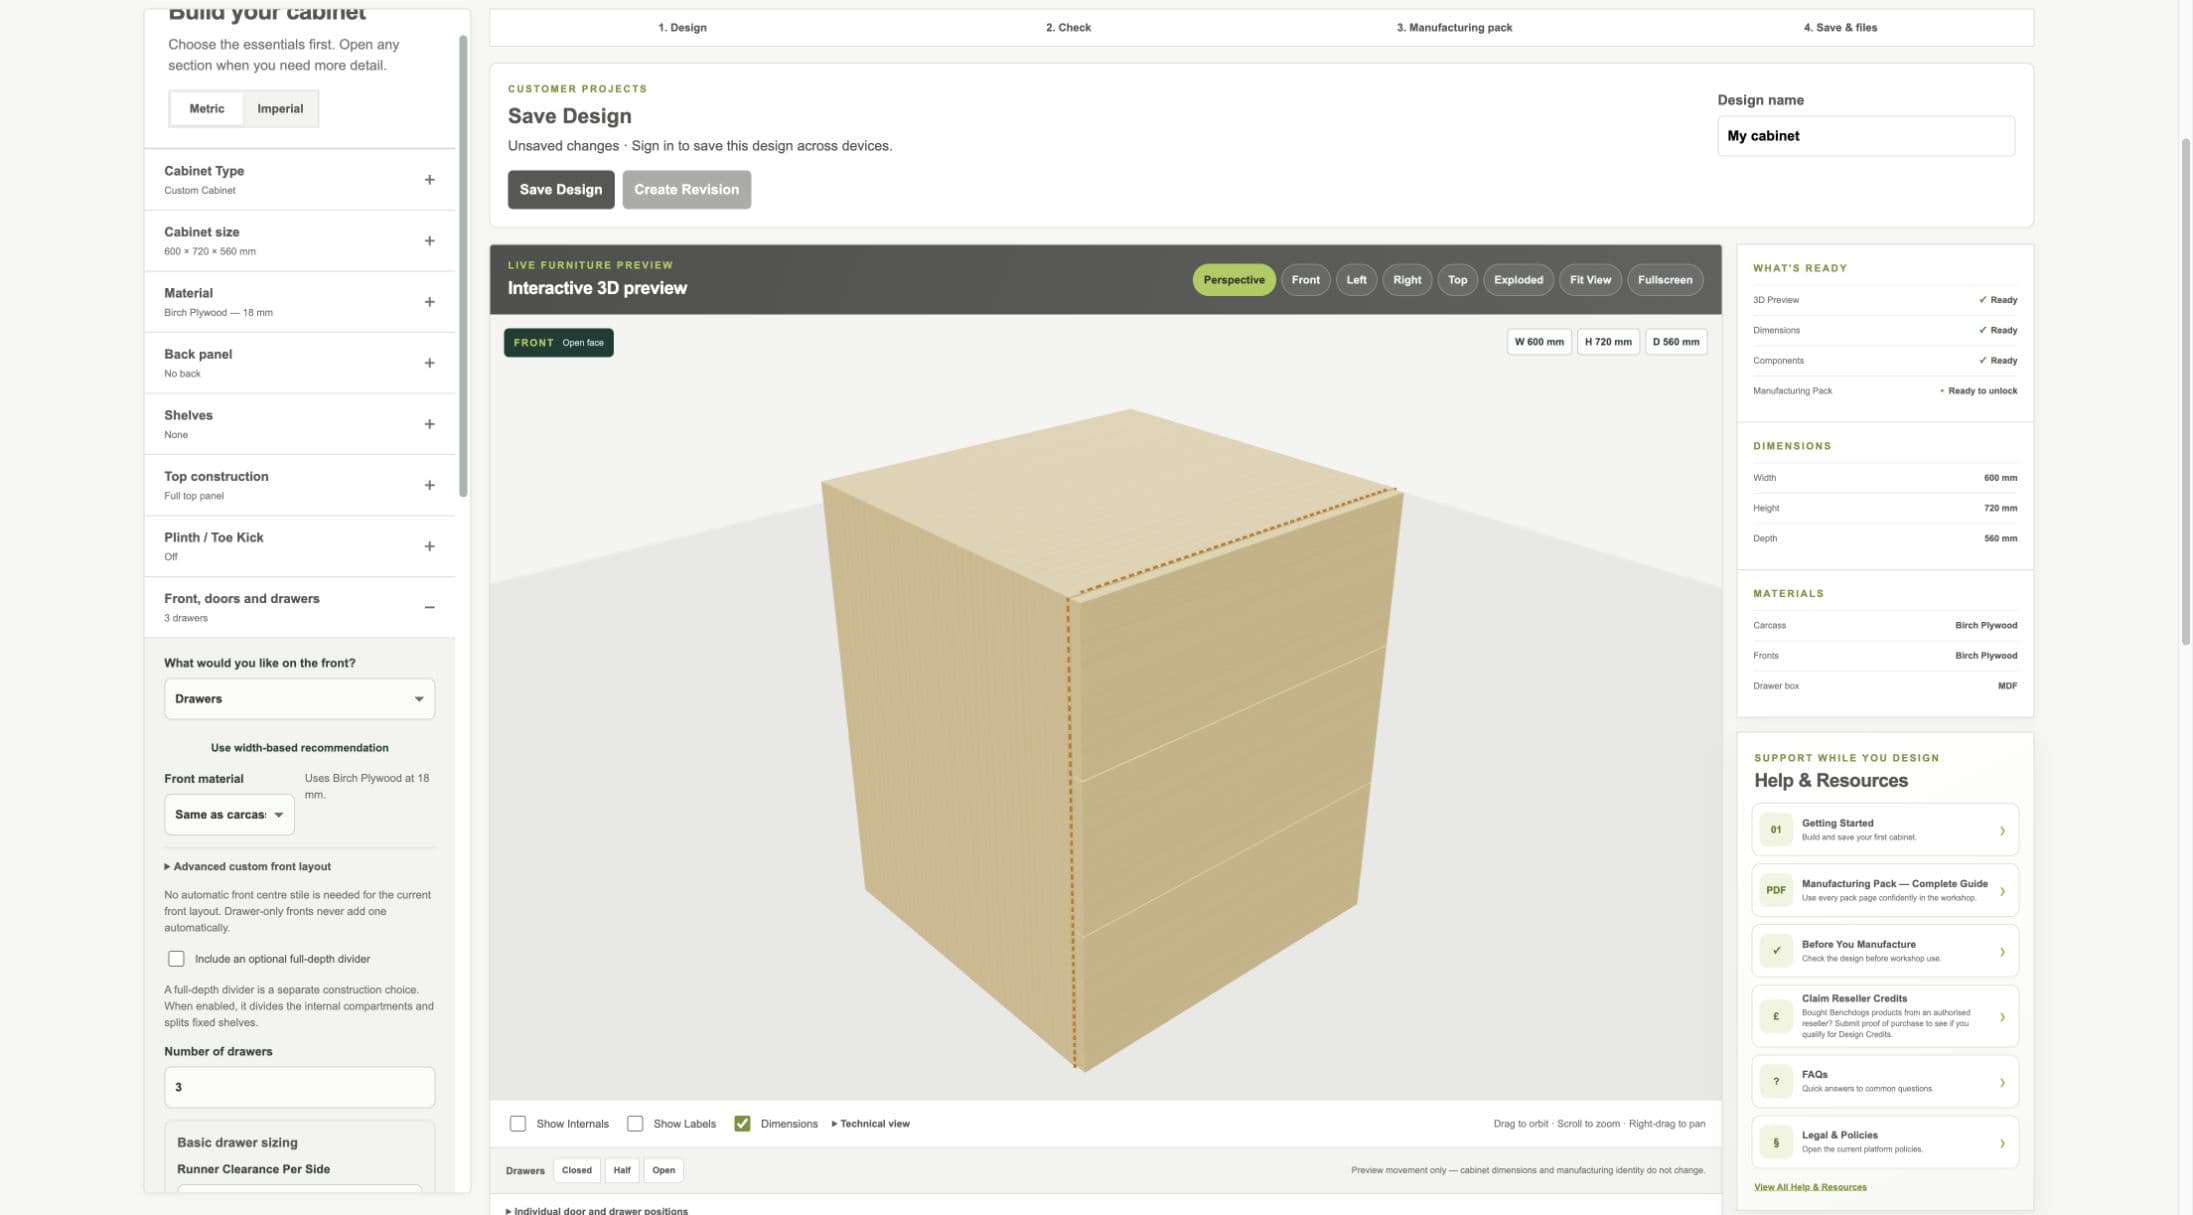
Current staging workflow: runner clearance, box construction and bottom construction drive real drawer parts.
- Drawer controls
- Runner and box settings
- Complete drawers in preview
Number, equal heights and individual heights
- WHAT IS IT?
- The number of drawer fronts and the vertical size assigned to each.
- WHEN WOULD I USE IT?
- Use equal heights for a quick bank or individual heights for different storage needs.
- WHAT DOES IT CHANGE?
- Drawer quantity, fronts, openings, box positions, cut list, 3D and drawings.
- HOW DO I SET IT?
- Enter Number of drawers, use Equal drawer front heights / reset, or change each listed front height.
- EXAMPLE
- Three fronts can be equal, or one shallow top drawer can sit above two deeper drawers.
Full Width and Split Drawers
- WHAT IS IT?
- A full-width drawer spans one opening; split drawers form separate left and right units.
- WHEN WOULD I USE IT?
- Use split drawers in a wide cabinet when separate compartments are preferred.
- WHAT DOES IT CHANGE?
- Opening width, front count, drawer-box widths, divider relationships and outputs.
- HOW DO I SET IT?
- Choose Full width or Split left / right where the option appears.
- EXAMPLE
- An 800 mm-wide cabinet can use two side-by-side drawers instead of one wide drawer.
Runner Clearance Per Side
- WHAT IS IT?
- The gap required between each drawer-box side and its cabinet opening for the intended runner.
- WHEN WOULD I USE IT?
- Set it for every drawer design, even when no specific runner brand is recorded.
- WHAT DOES IT CHANGE?
- Drawer box width, parts, 3D, cut list, plans and manufacturing identity.
- HOW DO I SET IT?
- Enter the manufacturer-required per-side clearance. Advanced mode permits different left and right values.
- EXAMPLE
- A 600 mm opening minus 15 mm left and 15 mm right gives a 570 mm external box width.
Workshop / Advanced Note
Clearance is not a recommendation. Verify it against the exact runner instructions and the actual opening.
Drawer Depth
- WHAT IS IT?
- The front-to-back length of the complete drawer box.
- WHEN WOULD I USE IT?
- Choose a depth that fits the rear usable datum, runner length and service space.
- WHAT DOES IT CHANGE?
- Drawer sides, bottom, 3D, material quantity and drawings.
- HOW DO I SET IT?
- Open Advanced drawer sizing and enter Drawer depth.
- EXAMPLE
- A 500 mm drawer must fit ahead of the back/rear usable datum.
Three-Sided and Four-Sided Drawer Boxes
- WHAT IS IT?
- Three-sided uses the decorative front to close the box; four-sided adds a structural box front behind a separate decorative front.
- WHEN WOULD I USE IT?
- Use the construction that matches your chosen workshop method and hardware.
- WHAT DOES IT CHANGE?
- Part count, front relationships, drawer assembly, cut list, 3D and drawings.
- HOW DO I SET IT?
- Choose Drawer-box construction.
- EXAMPLE
- Four-sided construction has its own structural front plus an applied visible drawer front.
Drawer-box material and thickness
- WHAT IS IT?
- Independent stock for drawer sides, back and structural box front.
- WHEN WOULD I USE IT?
- Use when drawer boxes need thinner or different stock from the carcass.
- WHAT DOES IT CHANGE?
- Actual box geometry, parts, material groups, 3D and manufacturing identity.
- HOW DO I SET IT?
- Choose Same as carcass or Choose different material and thickness.
- EXAMPLE
- An 18 mm carcass with a 15 mm birch plywood drawer box.
Drawer-bottom material and thickness
- WHAT IS IT?
- Independent stock for the bottom panel.
- WHEN WOULD I USE IT?
- Use thinner or different sheet material appropriate to the drawer load and construction.
- WHAT DOES IT CHANGE?
- Bottom geometry, groove/rebate fit, material grouping, cut list and drawings.
- HOW DO I SET IT?
- Choose the bottom material source and thickness.
- EXAMPLE
- A 6 mm plywood bottom in a 15 mm plywood drawer box.
Drawer-bottom construction
- WHAT IS IT?
- Applied Underneath fixes below the box; Flush Fitted sits flush; Recessed in Grooves is captured above the edge; Rebated Edges in Grooves uses stepped bottom edges in grooves.
- WHEN WOULD I USE IT?
- Choose the method you can produce and that suits the expected load.
- WHAT DOES IT CHANGE?
- Bottom size and position, groove/rebate intent, box parts, cut list and drawings.
- HOW DO I SET IT?
- Choose the bottom construction and enter any displayed inset, groove, fit-clearance or rebate values.
- EXAMPLE
- A recessed bottom sits in grooves with an inset from the drawer underside.
Workshop / Advanced Note
A groove is a channel, a rebate is a step cut along an edge, inset is the distance the bottom sits above/below a reference, and clearance is intentional fitting space. Test the real cutter and material fit on scrap.
Drawer edge treatment
- WHAT IS IT?
- Banding applied only to selected drawer-box or drawer-front edges.
- WHEN WOULD I USE IT?
- Use where the chosen box or decorative front requires an edge finish.
- WHAT DOES IT CHANGE?
- Edge schedule and material requirements, not automatic V1 cut-size compensation.
- HOW DO I SET IT?
- Choose Edge Banding and select the exact drawer component edges.
- EXAMPLE
- Band the visible decorative front edges without automatically banding concealed box joints.
Drawer pull-out preview
- WHAT IS IT?
- A visual movement of the complete front and box together.
- WHEN WOULD I USE IT?
- Use to understand the finished drawer and inspect clearances visually.
- WHAT DOES IT CHANGE?
- The view only; it does not alter drawer depth or manufacturing identity.
- HOW DO I SET IT?
- Use Closed, Half, Open or the individual drawer-position sliders.
- EXAMPLE
- Open one drawer while leaving the others closed to inspect the box.