Door workflow
The basic builder creates door geometry without forcing you to choose a hinge brand. Choose a suitable concealed hinge later and follow its current installation instructions.
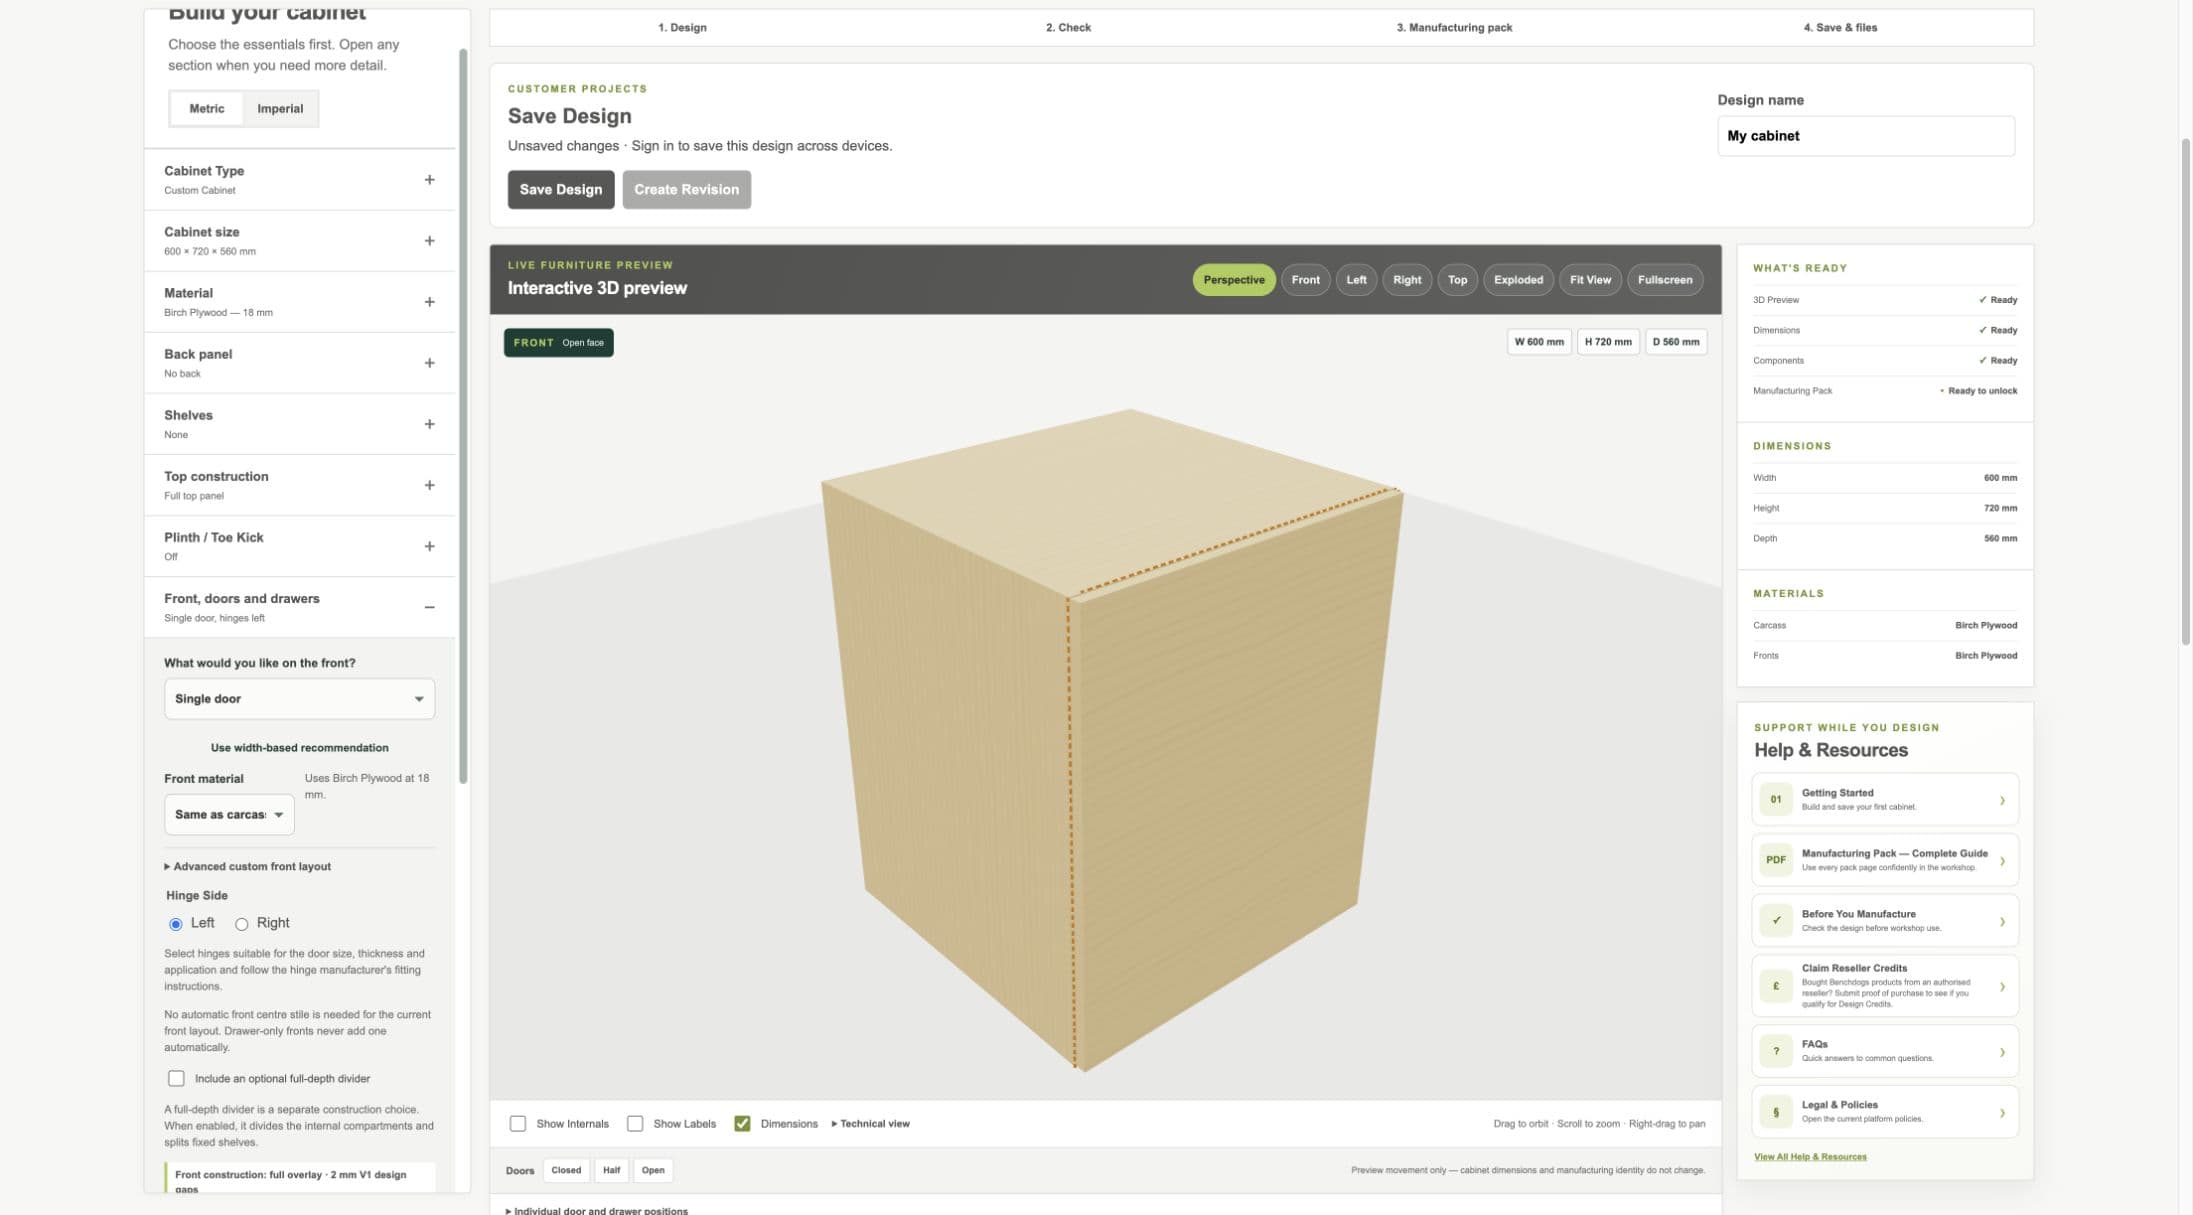
Current staging workflow: basic door geometry works without selecting a manufacturer-specific hinge.
- Front section
- Door and hinge-side controls
- Door preview
Single Door and Double Doors
- WHAT IS IT?
- A single front or a matched pair closing the selected cabinet region.
- WHEN WOULD I USE IT?
- Use a single door for one leaf or double doors for a wider paired opening.
- WHAT DOES IT CHANGE?
- Front count, width, gaps, hinge-side information, 3D, cut list and drawings.
- HOW DO I SET IT?
- Choose Single door or Double doors in the front selector.
- EXAMPLE
- A wide door-only cabinet may use two doors and a front centre stile.
Hinge Side
- WHAT IS IT?
- The cabinet side carrying a single door's hinges.
- WHEN WOULD I USE IT?
- Choose the side that provides safe access and avoids nearby walls or appliances.
- WHAT DOES IT CHANGE?
- Door orientation, generic centre references and preview movement.
- HOW DO I SET IT?
- Choose Left or Right for a single door.
- EXAMPLE
- Left means the hinges sit on the left when viewing the cabinet from the front.
Overlay and front gaps
- WHAT IS IT?
- An overlay front sits in front of the cabinet edges; the reveal is the visible gap around or between fronts.
- WHEN WOULD I USE IT?
- Use the current V1 overlay layout for supported standard fronts.
- WHAT DOES IT CHANGE?
- Door cut size and visual relationship to the carcass.
- HOW DO I SET IT?
- Choose the door layout; the Designer applies the current supported overlay and front-gap rule.
- EXAMPLE
- A double-door pair shares the centre gap while covering the opening.
Door material and thickness
- WHAT IS IT?
- The sheet stock used for doors and other fronts.
- WHEN WOULD I USE IT?
- Choose different stock when the fronts are not made from carcass material.
- WHAT DOES IT CHANGE?
- Door geometry, 3D appearance, weight planning inputs, cut-list grouping, edge schedule and manufacturing identity.
- HOW DO I SET IT?
- Choose Same as carcass or Choose different material and select its thickness.
- EXAMPLE
- An 18 mm MDF carcass with 19 mm painted front stock.
Hinge centres and matching mounting-plate centres
- WHAT IS IT?
- Designer-provided vertical centre positions on the door and matching cabinet-side heights.
- WHEN WOULD I USE IT?
- Use them as aligned position references in the drawings.
- WHAT DOES IT CHANGE?
- Drawing annotations and centre-location records, not manufacturer-specific cup or plate drilling.
- HOW DO I SET IT?
- Read the centres in the Manufacturing Pack, then set actual cup boring, plate setback and screw positions from your hinge instructions.
- EXAMPLE
- The door and side can share a 100 mm height reference while the selected hinge maker still defines the bore pattern.
Workshop / Advanced Note
Designer-provided centres locate the hinge level only. Manufacturer-specific drilling/setup remains the customer's responsibility.
Door preview
- WHAT IS IT?
- A visual-only opening movement in the 3D viewer.
- WHEN WOULD I USE IT?
- Use it to inspect access and front orientation.
- WHAT DOES IT CHANGE?
- Only the view; it never changes manufacturing geometry or guarantees a real hinge opening angle.
- HOW DO I SET IT?
- Use Closed, Half, Open or the individual door slider below the preview.
- EXAMPLE
- Open the door visually to check shelf access.
Door edge treatment
- WHAT IS IT?
- Banding recorded on selected door edges.
- WHEN WOULD I USE IT?
- Use for edges you intend to finish with the chosen banding.
- WHAT DOES IT CHANGE?
- Edge schedule, quantities and manufacturing identity.
- HOW DO I SET IT?
- Select Edge Banding and choose the required door edges.
- EXAMPLE
- Select all four edges of a visible slab door when that matches your process.